Raw images for E-wallpaper

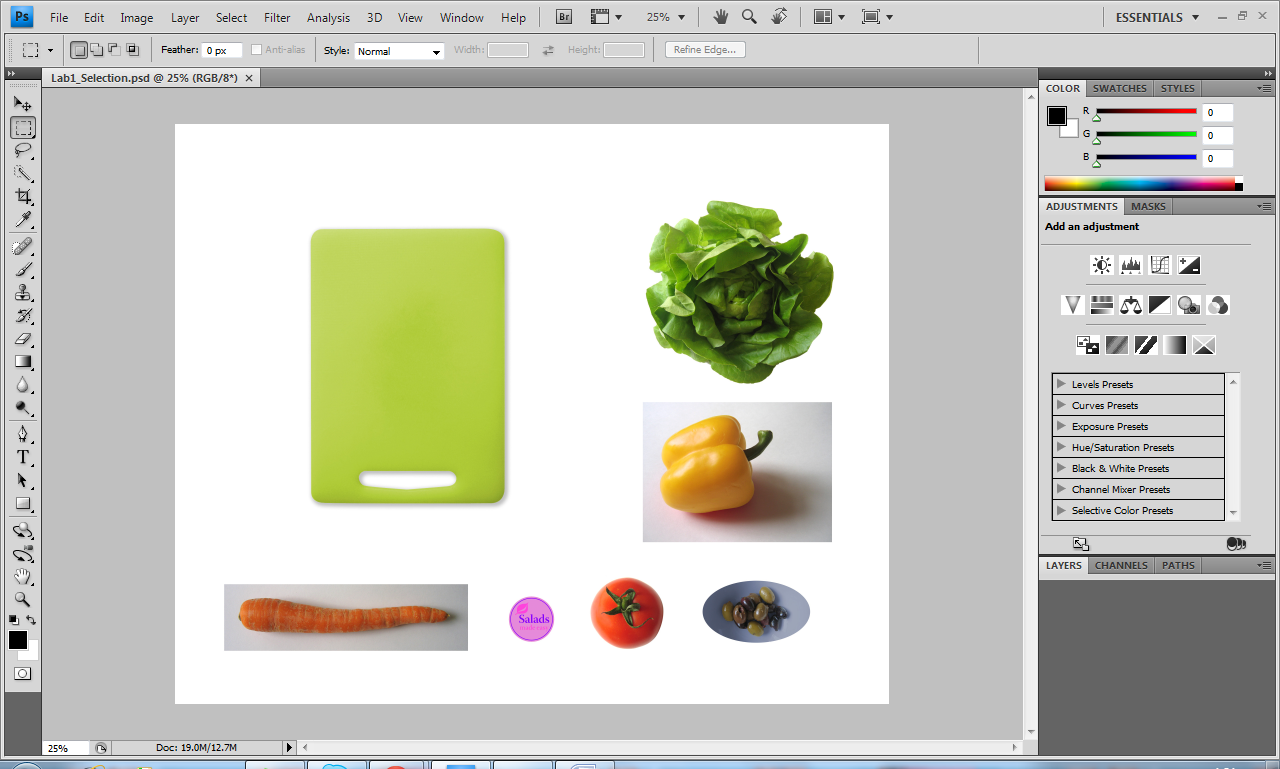
These are the raw images that I have edited using the selection tools in the Adobe Photoshop. I hope this is okay cause I don't know how to convert psd file to jpg file. I simply saved the edited images in Photoshop to jpg file. Please correct me if I'm wrong. Here are the images:


Img 1: Original image

For the first image, first of all I just click on the Rectangular Marquee tool and drag over the 'Multimedia University' image. Then I click on the Magic Wand Tool and click on the background of the image, somewhere inside the rectangular selection I did earlier. After that I copied (Ctrl C) the selected image, open a new page and pasted (Ctrl V). Then I just remove the 'eye' at the Background layer. So this is what I got:


Img 2: Raw image

For the second image, the steps are just the same. First I use the Rectangular Marquee tool, followed by the Magic Wand Tool. Then, I just copied the selected image and pasted on a new page. Lastly, I unselect the 'eye' at the background layer.


Img 3: Raw Image

Basically I just repeat the same steps like I did in Img 1 and 2. So after I did the selection, this is the outcome:


Img 4: Raw image

For the third image, I also use the same method. First of all I drag a rectangular over the image using the Rectangular Marquee Tool. Then I use the Magic Wand Tool to  select the image. After that, I copied and pasted the selected image on a new page. Then I removed the 'eye' on the background layer. Here is what I got: 


Img 5: Raw image

For the fourth image, I also use the same method. First I drew a rectangular over the image using the Rectangular Marquee Tool. Then I use the Magic Wand Tool to select the image. Notice that there are some parts that are not selected, such as the parts under the arms and between the leg. So I use the pen tool and draw on the lines of the unselected parts. Then i copied and pasted the selected image on a new page. Then I removed the 'eye' from the background layer.


Img 6: Raw image

For the fifth image, because I only want the Faculty of Management building sign, first of all I just crop out all the unwanted background image like shown below:


Then I just repeat the same procedure. First I draw a rectangular using the Rectangular Marquee Tool. Then I select the image using Magic Wand Tool. Then I copied and pasted the selected image on a new page, unselect the 'eye' from the background layer. This is what I got:


And finally, I compiled everything on a A4 page :)

Tutorial on Photoshop Selection Tools

Hey guys, now I'm gonna show you a basic tutorial on how to use the selection tools in the Adobe Photoshop. Currently I'm using Adobe Photoshop CS4. Let's begin!

First of all, here is the images that we'll be working on:


First, let's work on the tomato. Zoom in to the tomato image. Then, click on the 'Quick Selection Tool', which is the 4th icon on your left hand side tools menu. Then click on the tomato until the whole tomato image is selected as shown below.


Then, zoom out and click on the 'move tool' which is the first icon from the tools menu, and move the tomato to the chopping board like I did here:


Then, go to Select > Deselect to move on to another image. Next, let's work on the olives. Select the 'Elliptical Marquee Tool' by right-clicking on the 2nd icon like shown below:


Then, select the bowl of olives and the space bar is used to move the selection, while enlarging the selection using your mouse. 


After the whole image has been properly selected, release your mouse. And this is how it looks like:


Then repeat the same step to relocate the selected olives on the chopping board using the Move Tool.


Moving on, zoom in to the round shape labelled Salad. The Elliptical Marquee Tool is used for selection, but the trick this time is to use the Shift key to select the best round shape.


After you're done selecting, using the Move tool, move the image above the chopping board like I did below:


To change into a negative colour of the image, go to Image > Adjustment > Invert. This is what we'll get:


To duplicate the image, press the Alt key and drag from the original image. Here's the example:


To enlarge the duplicated image, go to Edit > Transform > Scale and resize the image as you desire.


Like this one:


After you're done resizing the image, click on the Right icon like shown below to confirm the size and move on to the next step:


Simply repeat the steps of duplicating and resizing the Salad image.


Finally, we work on the lettuce. Firstly, select the Rectangular Marquee Tool and select a rectangular shape over the lettuce image, big enough so that the whole lettuce image is situated inside the rectangular.


This is what you should get:


Then, right click on the Simple Selection Tool and select the Magic Wand Tool.


Before you proceed, make sure you click on the 'Subtract from Selection' icon like shown below:


Then, click anywhere on the background inside the rectangular. The whole lettuce will be perfectly selected like shown below:


And relocate the lettuce on the chopping board using the Move Tool.


Okay, that's it for Selection Tools tutorials. I shall update a second tutorial on Layering soon :)

Welcome to my blog :)

                                                    image by Donny Miller (via : Tumblr)

I agree with this. Therefore, I promise that I will try to be as original as possible no matter how trashy my work would turn out. I'd rather be criticized for something that is mine than get credits for something that isn't mine.

A brief introduction about myself, my name is Faridah Mahmud. Currently this is my 2nd trimester in FOM and I'm doing BBA Finance with Multimedia. For this trimester, I am taking 6 subjects along with Digital Media 1 (BC271C). To be honest, I've never used Photoshop, Dreamweaver or Flash before. So all these software are new to me although I've been wanting to learn how to use Photoshop for ages. Therefore, I will take this opportunity to learn and explore all these software and hopefully excel in this subject :)
abcs